Installing ATMOS
First step to installing ATMOS is to download the latest installer package (ATMOS Setup.exe) from the following address: http://summit-cloud.servehttp.com/public.php
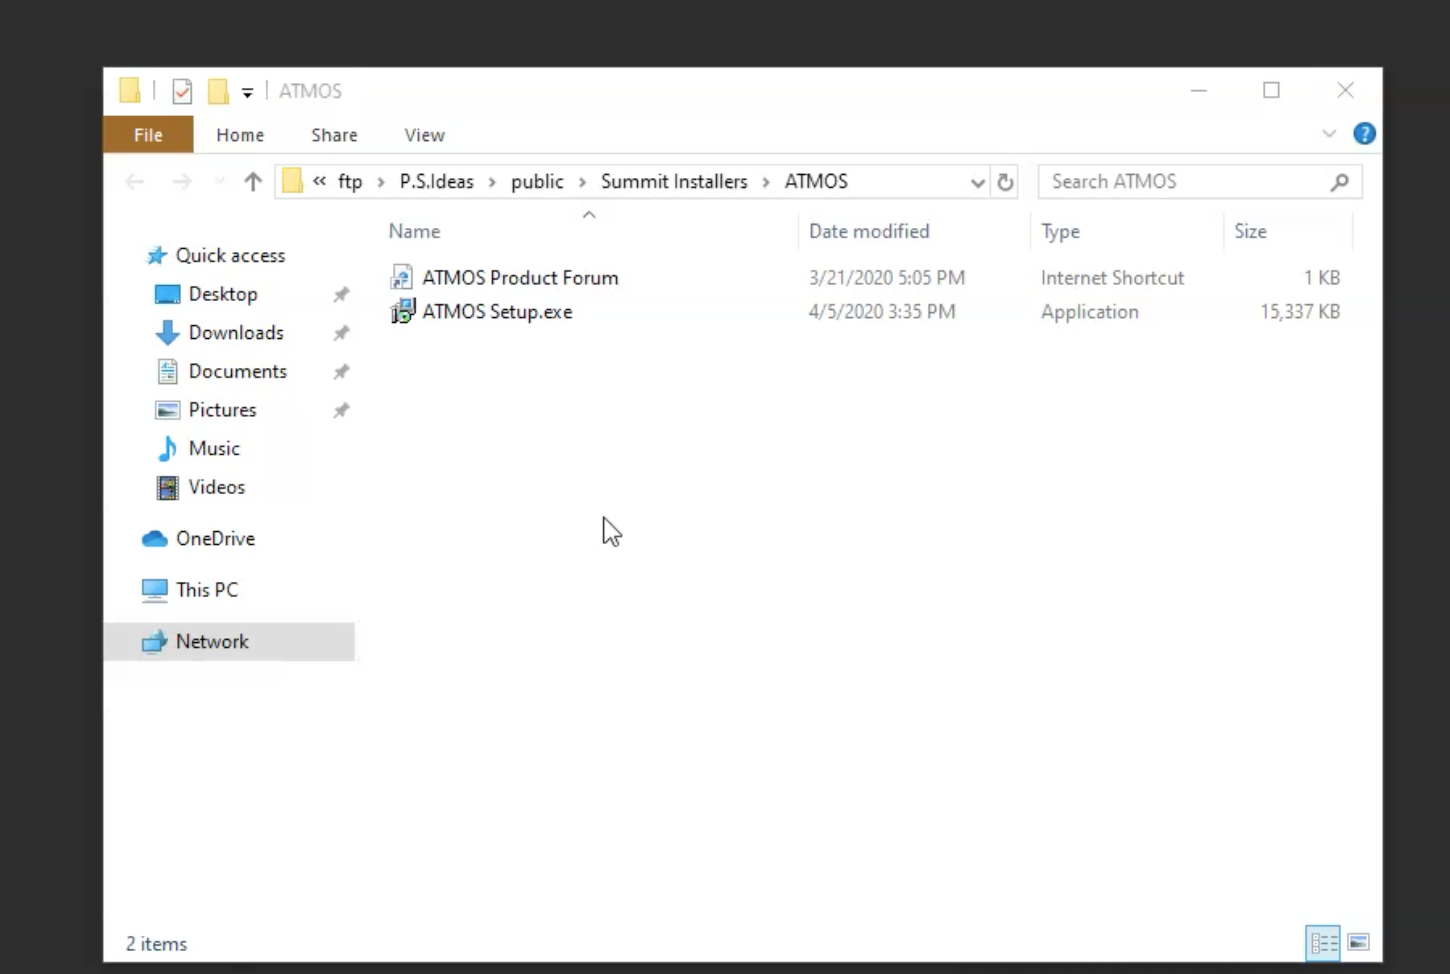
The shortcut named ATMOS Product Forum is a direct link to the online product forum that clients and our team participate in.
Copy the file named ATMOS Setup.exe to the desktop.
From the desktop, run the installer ATMOS Setup.exe.
Prompts In The Installer
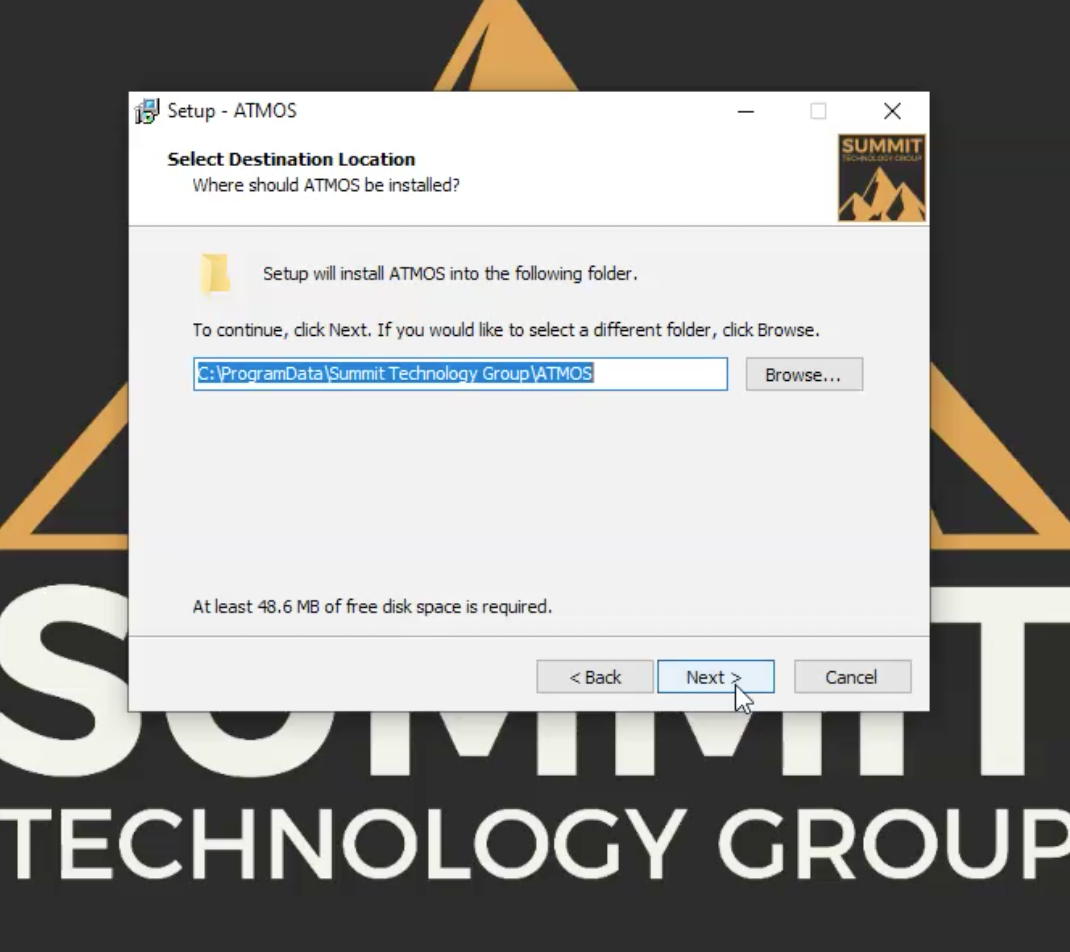
The next prompt is the File Location. Click next if this is the correct location for ATMOS.
This can be left alone unless there are multiple instances on the PC. In this case, a Summit Technician will set it up.
Licensing ATMOS
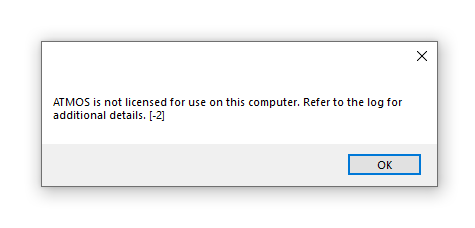
This message box will appear after ATMOS tries to open. Click “OK”. The next steps are going to show how to license the instance of ATMOS.
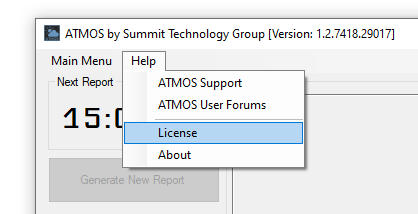
Go to the HELP menu in the top left corner. Click “License”

This is the Licensing page, which contains the following information:

- Station Call Sign and Suffix
- ATMOS License Seed
- Serial and CheckSum

The Serial and CheckSum will need to be filled out. Follow the next steps to get that information.
To fill out the Serial and CheckSum box, you will need the highlighted information, Station Call Sign and Suffix, along with the License Seed.
To do this, fill out your stations Station Call Sign and Suffix, then click Submit.
Email the Station Call Sign and Suffix and License Seed to the following email address:
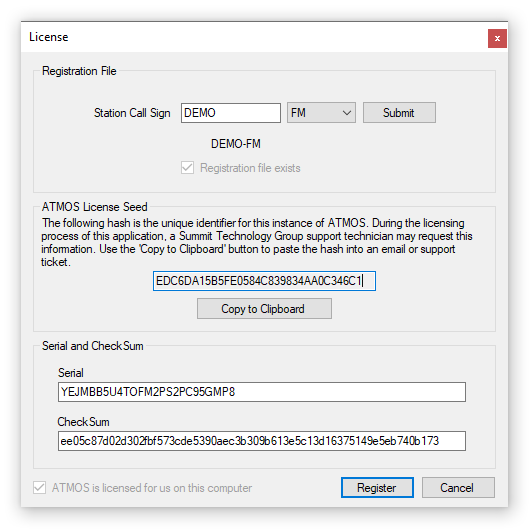
Once emailing this information, you will in return get the Serial and CheckSum.
Input the Serial and CheckSum into the appropriate box.
NOTE: when inputting the Serial, make sure there are NO DASHES included.
Click REGISTER.
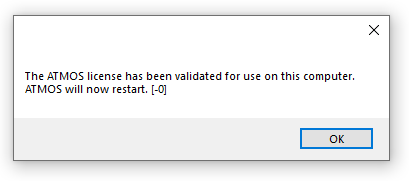
ATMOS is now registered on this computer. ATMOS will automatically restart and be licensed to use.


